| hazardous | |
|
| |
| Episode | 58 |
| Creator | Metanet Software |
| N version | 1.3 and later |
| Fastest Time | |
| Fastest Player | |
| Demo | 58-4/Demo |
Walkthroughs
Method 1
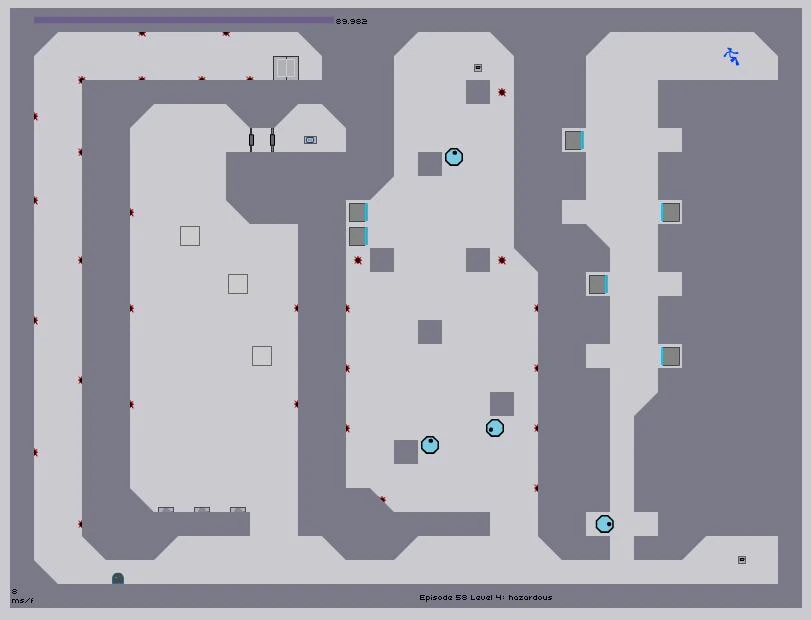
The final level of episode 58 isn't something to be taken lightly: the name "hazardous" should say enough. This level is divided into 4 portions, and each is pretty much dangerous in their own rights (except maybe section 3). This walkthrough will focus on completion, and not speed.
The first hazard would be the passage downwards, through 4 thwumps and a tight, drone-guarded area which would be the main challenge in this portion. The thwumps are easy to handle: as you start, simply run all the way left and you'll land on the top of the first one. It'll move to the right. Remain where you are, and as the thwump moves from underneath you, press right all the way and you'll drop on the top of the next thwump, as it moves to drop you on the third thwump and so on. Just alternate directions, and don't lag on the thwumps, and you'll have no problem with this area. Now for the drone. As you can see, it's a really tight fit. The timing needs to be perfect. Now, if you did the thwump part exactly as I said, the timing should be this: simply fall straight through, or land on the edge of the slope before falling straight through. Either should work (hitting the slope as shown in the map is safer, though) , and you should now be at the bottom of the level. Take a breather, grab the switch to your right, wait for the Floorguard to come somewhat near you before jumping over it, and into the second area.
The second area is guarded by several normal Zap Drones, and 2 closely-packed thwumps, as well as dangerously positioned mines. This is probably the hardest portion of the level. The point here is to get up first to the tile marked with a RED cross, followed by the BLUE cross, and the map shows a possible route to do it. Watch the drones obviously. Now, at the BLUE tile, first jump against it as shown in the map, to trigger the lower thwump. Now, walljump away from the tile and back onto it to trigger the other thwump. Mindful of the drone, make your way to the top switch. Now for the drop: the fastest and easiest way is to follow the RED path: WALK OFF (don't jump) the tile with the switch to the LEFT, and drop. The line in the walkthrough picture is wrong as this point! It is meant to go between the two top tiles, not to the left of the left one! As you near the top thwump, press RIGHT to orient yourself slightly. If done correctly, you should just make it pass the thwumps and land safely on the RED tile. Now go back down the way you came, all the while mindful of those drones of course. Enter the bottom again.
Now, if you are confident with your speed, you can begin moving left right away and make the entry into the third area. But the safe way is to wait for the Floorguard near the fat red dot, jump over it, and then enter the third area. Compared to what you've done, this is a breeze. 3 random mines are positioned in random areas which shouldn't bother you, at all. Use the middle launchpad, and generally just get the doorswitch. Come back down whatever way you want. Just don't die here, that'll be really stupid.
Now, move on to the final ascent. Unless you did something really stupid, the Floorguard should be really far away and shouldn't bother you. The ascent is all about control: just methodically jump between the mines, and you'll eventually reach the top. Now, at the green cross, simply hold RIGHT and lightly tap jump, and you should land in the approximate area between those mines. The exit, and the final episode of column 50, is another light jump away.
